
Modifying Home for Injury Recovery: Your Safety Guide

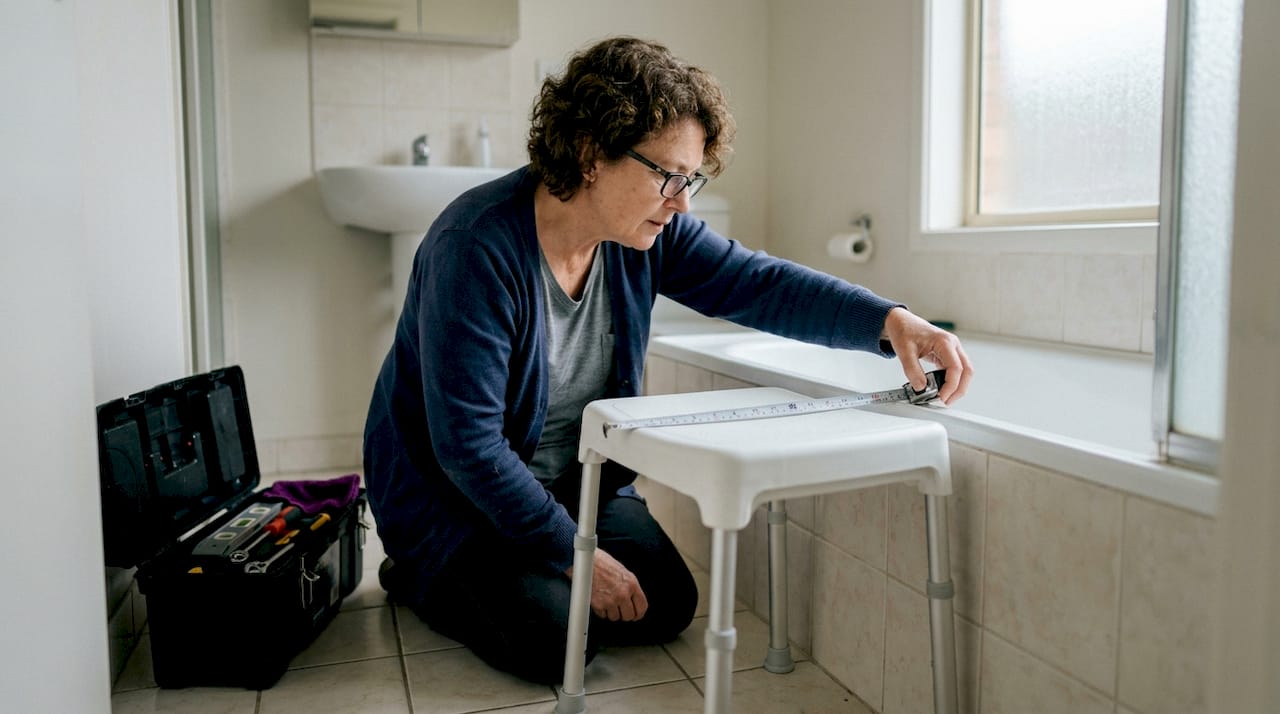
Modifying home for injury recovery is defined as making targeted changes to your living space that reduce fall risk, support mobility, and protect your independence during healing. These changes go by the clinical term “home modifications,” a standard practice guided by occupational therapists and frameworks like the Americans with Disabilities Act (ADA). Patients recovering from total hip replacements, for example, face a heightened fall risk for 90 days after surgery. That window is exactly when a poorly arranged bathroom or a single loose rug can derail your entire recovery. Getting your home right before you walk through the front door is not optional. It is the foundation of safe healing.
What are the essential home modifications for injury recovery?
The highest-impact home modifications target three zones: the bathroom, the entryway, and the main travel path through your home. Focusing on these areas first gives you the most safety return for your effort and budget.
Bathroom safety
The bathroom is where most post-injury falls happen. These four changes address the biggest risks immediately:
Grab bars: Install near the toilet and inside the shower. They must anchor into wall studs, not just drywall.
Raised toilet seat or toilet riser: Reduces the distance you lower yourself, which matters most after hip or knee surgery.
Shower chair: A medical-grade shower chair with back support and armrests removes the need to stand for the full duration of bathing.
Non-slip mats: Place inside the tub and on the floor outside it. Wet tile is one of the most common fall triggers.
Doorways, hallways, and flooring
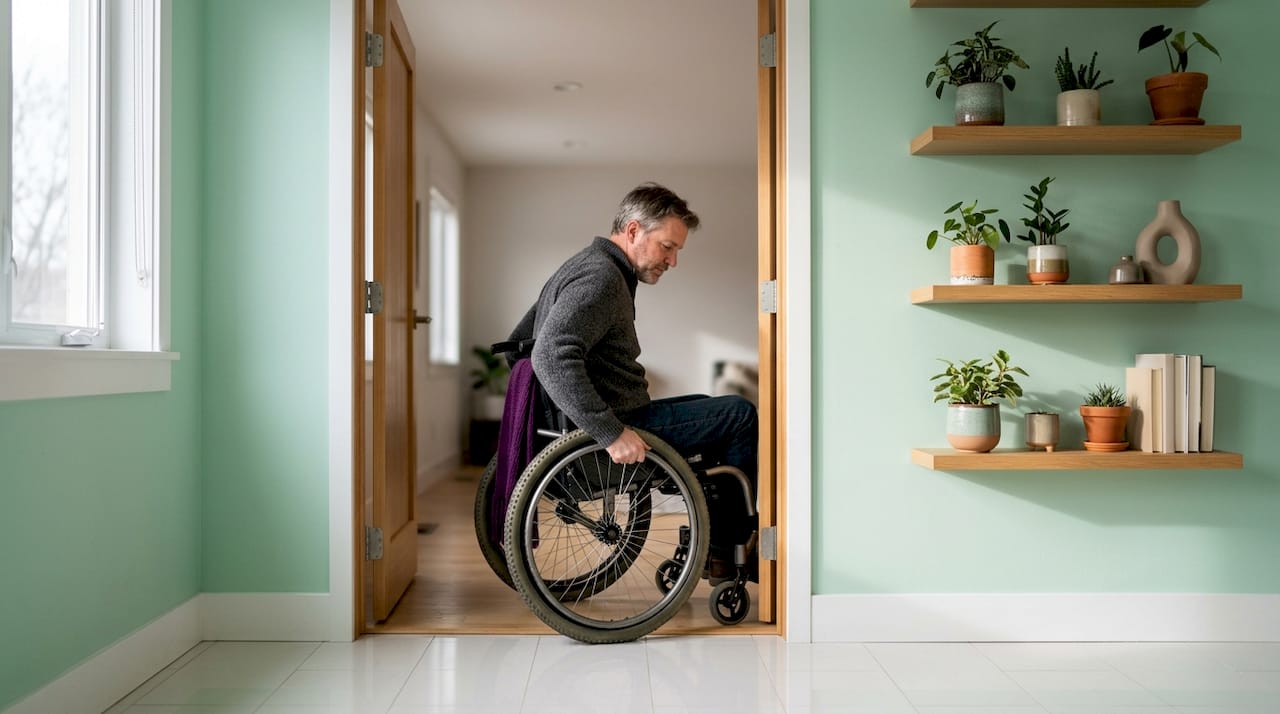
ADA standards require a minimum 32-inch clear doorway opening and hallways at least 36 inches wide for safe wheelchair or walker navigation. If your home falls short, door hinge offsets (also called swing-clear hinges) can add up to 2 inches of clearance without full reconstruction. For flooring, remove area rugs entirely during recovery. They catch crutch tips and walker feet. Replace them with low-pile carpet or leave hardwood bare with non-slip strips at transitions.
Entryway access
A step at your front door becomes a serious obstacle when you are on crutches or in a wheelchair. Portable threshold ramps handle rises up to 6 inches and require no permanent installation. For larger rises, a modular aluminum ramp is the right call.
Pro Tip: Focus your first week of modifications on the bathroom and your main sleeping area. Those two rooms cover 80% of your daily movement during early recovery.
Modification | Primary benefit | Urgency |
Grab bars (toilet and shower) | Fall prevention | Before discharge |
Raised toilet seat | Reduces joint strain | Before discharge |
Shower chair | Safe bathing without standing | Before discharge |
Non-slip mats | Wet-surface traction | Before discharge |
Threshold ramp | Entryway access | Before discharge |
Swing-clear door hinges | Wider doorway clearance | Week 1–2 |
How to plan your home before modifications begin
Planning before you buy a single grab bar saves you money and prevents dangerous guesswork. Occupational therapists provide the gold standard for pre-discharge home assessments. They walk through your actual floor plan, identify your specific risk zones, and give you a prioritized list of what to change. Request this assessment before you leave the hospital, not after.
Here is a practical planning sequence to follow:
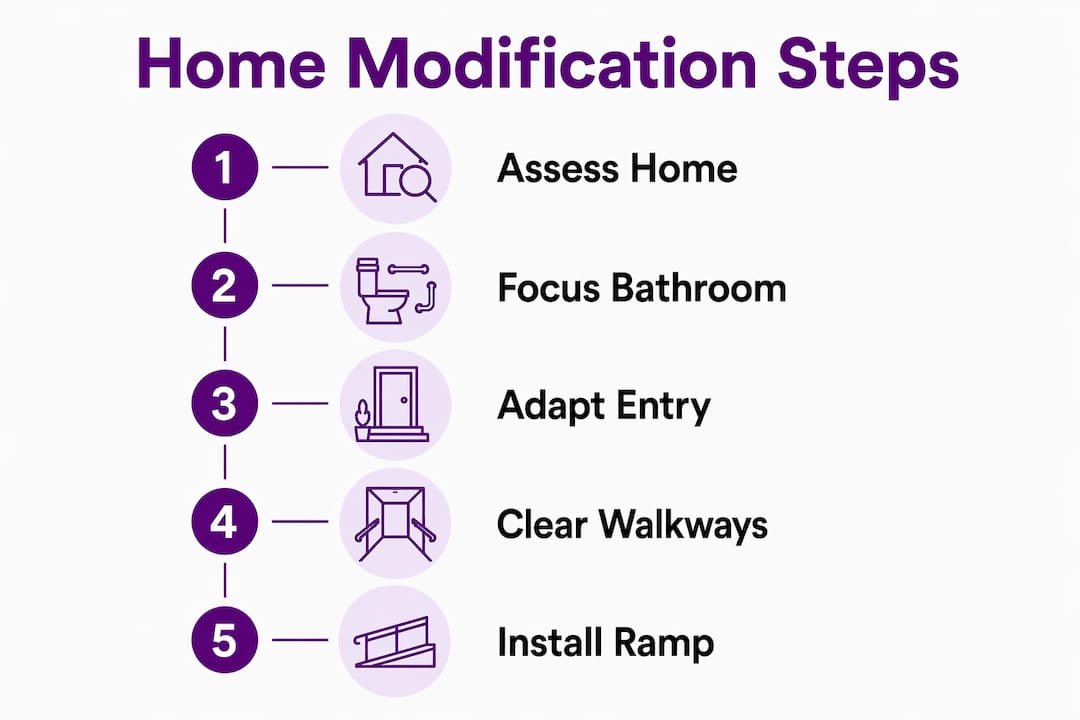
Schedule an occupational therapist home visit. Ask your hospital care team to arrange this before discharge. The therapist maps your home against your specific mobility limitations.
Identify your three highest-risk touchpoints. For most people, these are the toilet, the tub or shower, and any stairs. Focusing modifications on touchpoints like these maximizes safety impact per dollar spent.
Measure your doorways and hallways. Bring a tape measure and check every doorway you use daily. Note any that fall below 32 inches.
Check landlord or HOA rules. If you rent or live in a managed community, some structural changes require written approval. Grab bars and ramps often qualify as reasonable accommodations under the Fair Housing Act, but confirm in writing before installation.
Review your funding options. Medicare Part A covers physical therapy tied to inpatient stays but typically excludes structural home modifications. Some Medicaid waivers and Medicare Advantage plans do cover modifications. Call your insurer before purchasing equipment.
Pro Tip: Ask your occupational therapist to photograph your home during the assessment visit. Those photos become your modification checklist and help contractors understand the scope of work without a second site visit.
How do you execute common home modifications safely?
Knowing what to install is only half the job. Installing it correctly is what keeps you safe. Follow these steps for the most common modifications.
Installing grab bars
Locate wall studs using a stud finder. Mark them with painter’s tape.
Position the bar at a height that lets you grip it while seated and while standing. For most people, 33–36 inches from the floor works well.
Use 3-inch screws driven directly into studs. Improper installation using toggle bolts is one of the most common and dangerous mistakes in accessible home design.
Test the bar by applying your full body weight before relying on it.
Creating clear walkways
Clutter removal, better lighting, and furniture repositioning are the fastest ways to reduce fall risk at home. Pull furniture away from walls to create a 36-inch clear path between rooms. Add nightlights in hallways and the bathroom. If you use a walker, remove any furniture with protruding legs that could catch the frame.
Installing a ramp
The ADA specifies a 1:12 ramp slope ratio, meaning 12 inches of ramp length for every 1 inch of vertical rise. A 4-inch front step requires a 48-inch ramp. Modular aluminum ramps meet this standard and can be assembled without tools. Anchor the base to prevent shifting.
Temporary staging during early recovery
You do not need to commit to permanent changes on day one. Rearranging furniture and removing rugs creates safer paths immediately while you assess longer-term needs. This approach, sometimes called temporary staging, is especially useful in the first two weeks before permanent equipment arrives.
“Small, real-time adjustments by therapists in the patient’s home environment improve safety and function more effectively than generic clinical advice or simulated environments.” — AARP
What mistakes do people make when adapting their home for healing?
Most home modification mistakes fall into a predictable pattern. Knowing them in advance helps you avoid the ones that cause real harm.
Installing grab bars without hitting studs. Toggle bolts feel solid until they fail under load. Always anchor into studs. This is the single most dangerous installation error in accessible home design.
Doing too much at once. Tackling every room in the first week creates chaos and exhaustion. Prioritize the bathroom and sleeping area first, then expand.
Delaying the occupational therapy assessment. Waiting until after discharge to schedule a home visit means you arrive home without the right equipment in place. The 90-day fall risk window starts the moment you leave the hospital.
Skipping the recovery sanctuary concept. A dedicated ground-floor recovery area that centralizes your daily essentials, medications, phone, water, and clothing, reduces how often you need to move through the house. Fewer trips mean fewer fall opportunities.
Ignoring maintenance as recovery progresses. Your mobility improves over weeks. A grab bar positioned for week one may be in the wrong spot by week six. Reassess your setup every two to three weeks.
Pro Tip: Set a calendar reminder every two weeks to walk through your home and ask: “Does this setup still match where I am in recovery?” Adjusting early prevents bad habits from forming around unsafe workarounds.
Key Takeaways
The most effective approach to home modifications for injury recovery combines an occupational therapist assessment before discharge, targeted bathroom and pathway changes, and staged adjustments as mobility improves.
Point | Details |
Start with the bathroom | Grab bars, a shower chair, and a raised toilet seat address the highest fall-risk zone first. |
Get an OT assessment early | Request an occupational therapist home visit before hospital discharge for a personalized modification plan. |
Follow ADA standards | Use 32-inch minimum doorways, 36-inch hallways, and a 1:12 ramp slope for safe navigation. |
Create a recovery sanctuary | Centralizing daily essentials on one floor reduces movement and lowers fall risk during vulnerable recovery weeks. |
Reassess every two weeks | Your mobility changes as you heal, and your home setup should change with it. |
Why staged modifications matter more than a full renovation
Here is what I have seen consistently: people either do nothing before coming home or try to renovate everything at once. Both approaches fail. The first leaves you in a genuinely dangerous home. The second overwhelms you and your family at the worst possible time.
The smarter path is staged modifications. Start with the three or four changes that address your immediate risk, get your occupational therapist into your actual home as soon as possible, and let the setup evolve with your recovery. Real-time home adjustments by therapists working in your actual space produce better outcomes than anything planned in a clinical setting.
The concept I find most underused is “quiet accessibility.” Universal design features like curbless entries and wider hallways benefit everyone in the home and add long-term value to the property. You are not just recovering. You are future-proofing. That reframe matters because it shifts the conversation from “temporary fix” to “smart investment,” which makes it easier to get family members and landlords on board.
Caregivers also need a role reframe. The best thing a caregiver can do is act as a coach, not a clinician. Help the person recovering do things themselves with the right equipment in place. Dependence grows when caregivers do too much. Independence grows when the home is set up to support self-sufficiency. That is the whole point of this work.
— Fracture
Fracture-club recovery wear that works alongside your home setup
Getting dressed during recovery is harder than most people expect. Casts, braces, and limited range of motion turn a simple task into a frustrating obstacle, especially when your home is already asking a lot of you.
[

Fracture-club designs adaptive recovery pants with side magnetic zippers so you can dress independently without bending, pulling, or asking for help. The easy-on recovery sweatshirt follows the same principle for upper limb injuries. Both pieces are designed to work with your home modifications, not against them. Less fumbling with clothing means less time standing on one leg near a doorway or bathroom counter. That matters when every unnecessary movement carries risk. If you are looking for recovery home tips beyond clothing, Fracture-club’s blog covers the full picture of healing at home.
FAQ
What are the first home modifications to make after injury?
Install grab bars, a raised toilet seat, and a shower chair before you leave the hospital. These three changes address the bathroom, which is the highest fall-risk zone during early recovery.
Does Medicare cover home modifications for injury recovery?
Medicare Part A covers physical therapy linked to inpatient stays but typically excludes structural modifications. Some Medicaid waivers and Medicare Advantage plans offer supplemental coverage, so contact your insurer directly to confirm what your plan includes.
How wide do doorways need to be for wheelchair access?
ADA standards require a minimum 32-inch clear doorway opening. Swing-clear hinges can add up to 2 inches of clearance without structural renovation.
What is a recovery sanctuary and why does it help?
A recovery sanctuary is a dedicated ground-floor area where you centralize daily essentials like medications, water, and clothing. It reduces how often you need to move through the house, which directly lowers fall risk.
When should I schedule an occupational therapist home assessment?
Schedule the assessment before hospital discharge, not after. Early OT home visits produce personalized modification plans that match your actual home layout and your specific mobility limitations.
Recommended
Comments